Installation
A quick guide to getting started with your ERIS installation.
Installing ERIS is a very simple and straightforward process. Following these easy steps outlined below, you'll be up and running in just a matter of minutes.
Quick-Step Guide
- Obtain an API key from etherFAX to use with your ERIS installation.
- Perform the installation using the Windows .msi installer or perform a Docker pull operation to get the latest build for your platform/environment.
- Start the ERIS service and log in to
http://localhost:8000using the default credentials (admin/password). - Use the General Settings screen and set your API key provided by etherFAX. It's a good idea to at least set the correct time zone for the installation.
- Restart the ERIS service so the new changes can take effect.
- Verify that your ERIS installation has established connectivity to the etherFAX network. The Activity Monitor will display the connection status as Online.
If you need to troubleshoot your initial setup, open the .../logs/eris.log file in ERIS shared application folder.
Installation: Microsoft Windows
Windows installation requires the latest ERIS .msi installer package and is available for Windows 64-bit systems only. Using the ERIS Windows installer is pretty straightforward, but does require administrator privileges.
Latest ERIS InstallerThe latest ERIS installer can be found here https://downloads.etherfax.net/installers/etherfax/eris/EtherFax.Eris.Installer.msi.
ASP.NET Core Runtime DownloadBefore starting the installation, the ERIS installation requires the ASP.NET Core Runtime 8.0 Hosting Bundle. You may find the latest Hosting Bundle for Windows x64 using the Microsoft Download link.
ASP.NET Core Runtime 8.0 (Hosting Bundle): https://dotnet.microsoft.com/en-us/download/dotnet/8.0
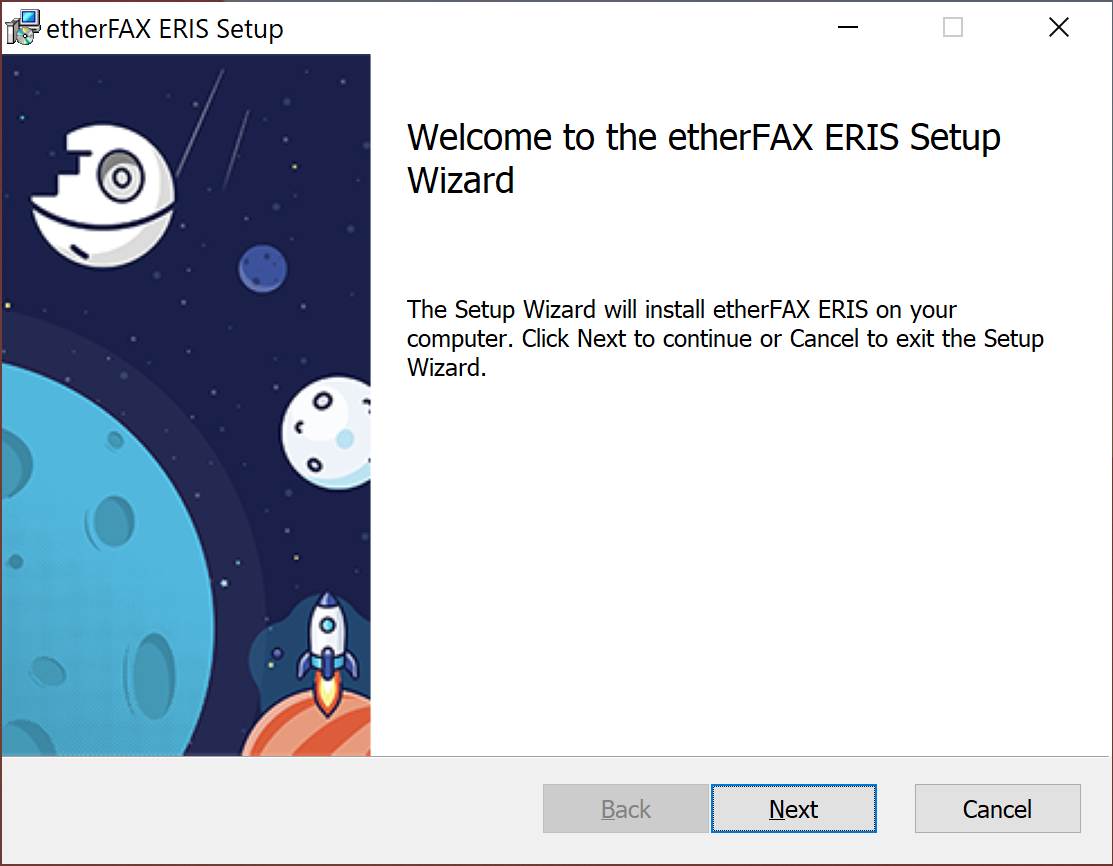
When starting the installation, you will be greeted with the Setup Wizard screen.

Welcome screen.
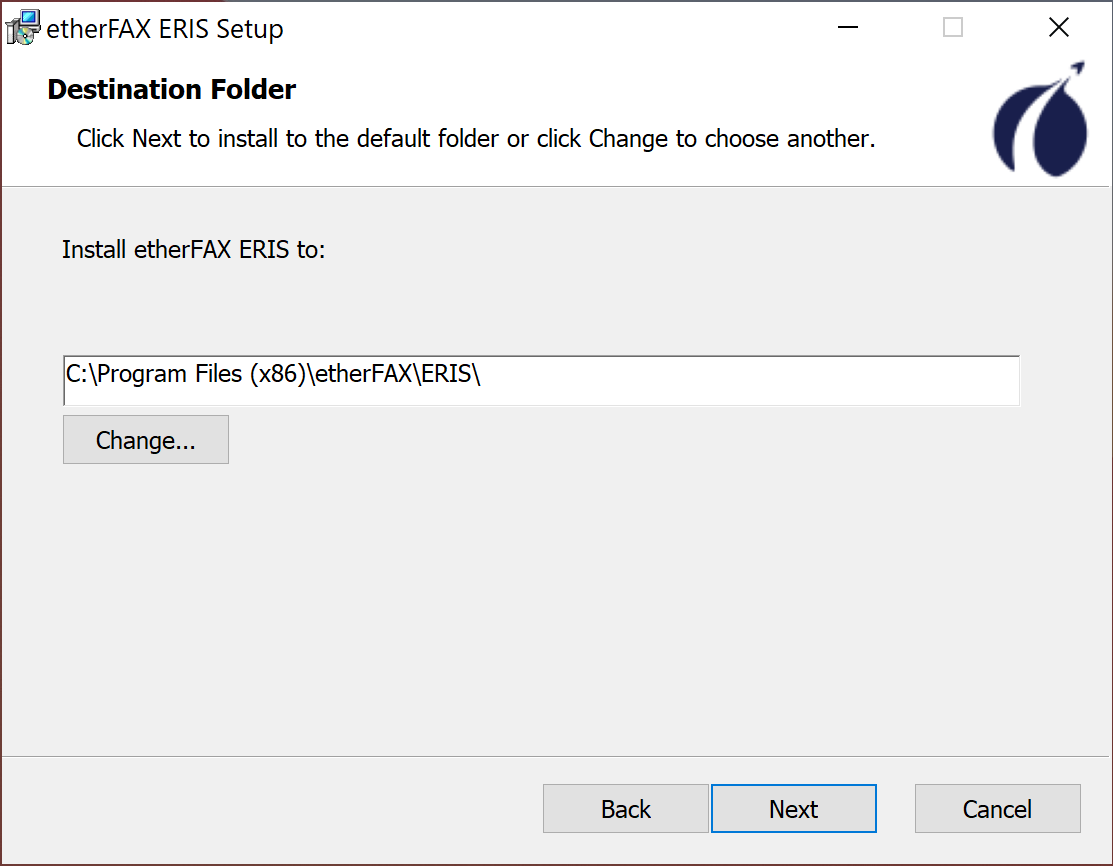
To begin, run the installer package and choose your default installation location. Once installed, ERIS will operate as a Windows service and may be started/stopped using the Windows Services application.

Select destination folder.
The base directory for ERIS will be located at C:\ProgramData\etherFAX\ERIS by default. This is the location where all data, log output, and file-drop activity will take place. After the initial installation is complete, you may choose another file system location.
Using the Windows services application, start the ERIS windows service and enter the default login URL in your browser:
http://localhost:8000Installation: Docker Container
For those using containerization platforms such as Docker, ERIS is available as a Docker image available from https://hub.docker.com packaged as a multi-architecture bundle. Whether you're using an Intel or AMD-based system, or even an ARM processor, the ERIS image contains all of the platform and architecture-specific components for your installation. This means you can install ERIS on just about anything from a Raspberry Pi to a server-class hosted framework.
From your docker host, download the latest ERIS image using the following command:
localhost@~ docker pull etherfax/eris:latest
latest: Pulling from etherfax/eris
a330b6cecb98: Pull complete
8827031a24ea: Pull complete
1a22d130129d: Pull complete
a76ba1992286: Pull complete
114da27711ac: Pull complete
f094ca2eaee3: Pull complete
5d0dac6d7f56: Pull complete
b153194c2688: Pull complete
806ef5a4c24f: Pull complete
Digest: sha256:1a81f842501f3f649effa6f60e8480894b9c2355def3aba4bf52a5bc4e1d1db4
Status: Downloaded newer image for etherfax/eris:latest
docker.io/etherfax/eris:latest
localhost@~
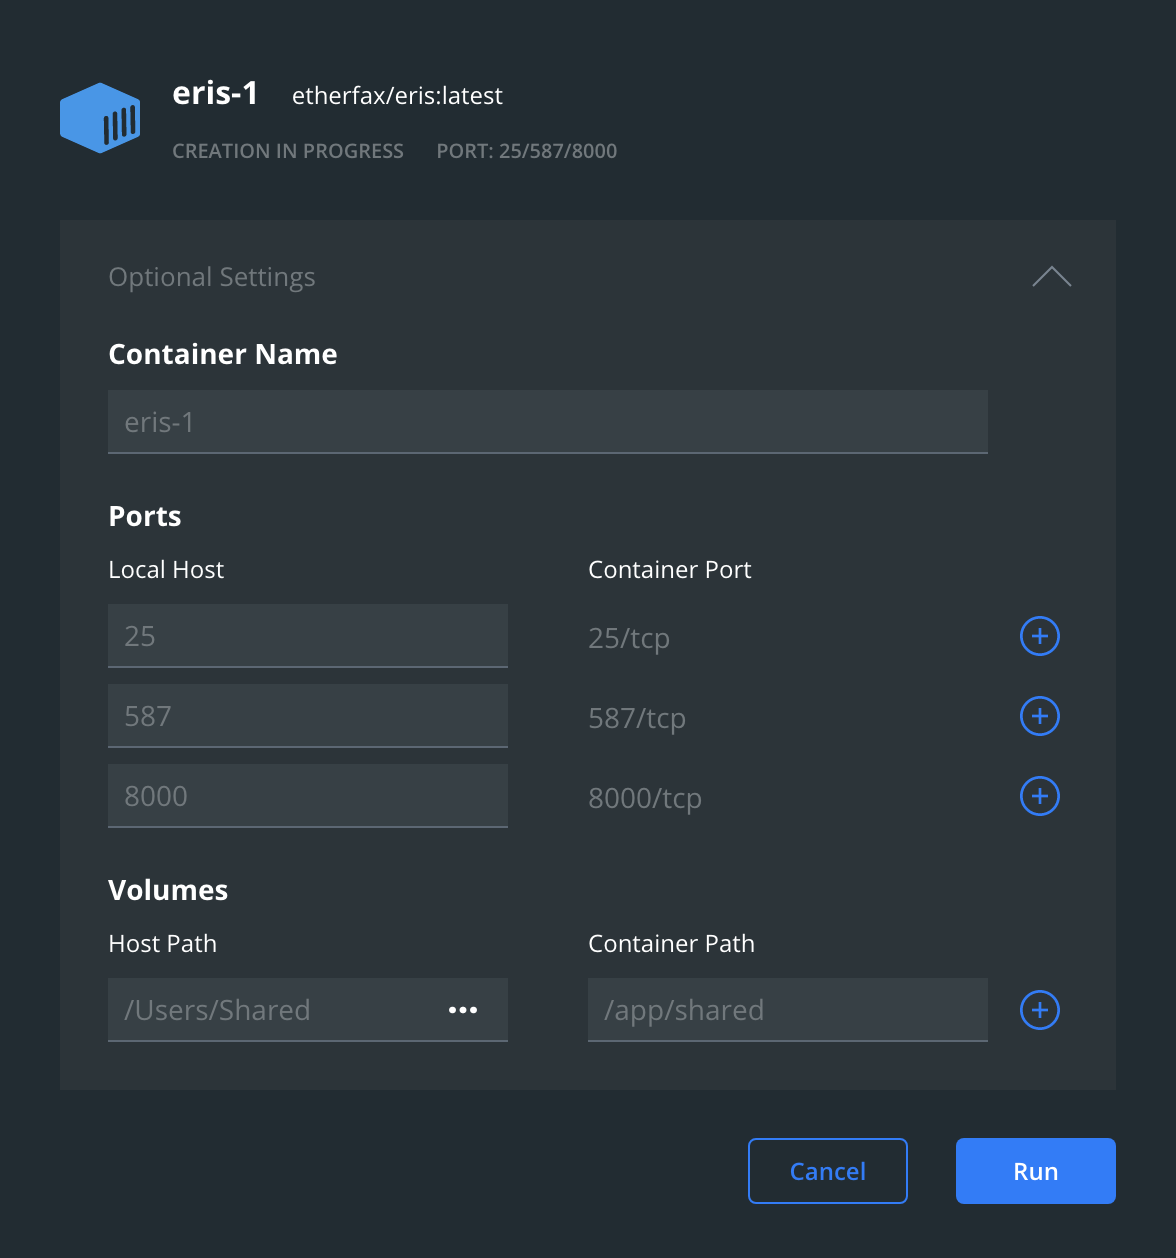
When creating a new instance of ERIS, choose appropriate port mappings for the exposed SMTP and HTTP/S ports. In addition to port mappings, choose the host path/directory that ERIS will use as its base path. For the container path, /app/shared should be used as a container path.
The docker configuration for ERIS exposes the following ports:
| Port | Description |
|---|---|
| 25, 587 | SMTP |
| 515 | LPD |
| 8000 | HTTP |
| 8001 | HTTPS |
The following example creates a new ERIS instance named eris-1 using Docker Desktop for Mac and configures the instance to map ports 25, 587, and 8000 respectively. The container path /app/shared (used internally) is mapped to the host's /Users/Shared folder.

Docker on Mac desktop.
Once your container is started, enter the default login URL in your browser:
http://localhost:8000Verifying Your Installation
As stated above, verify that your ERIS installation has established connectivity to the etherFAX network. Observe the Activity Monitor connection status as Online or examine the eris.log output file located in the logs folder.
During startup, ERIS will self-initialize the system database, created needed folders, and attempt to connect/authenticate to the etherFAX network. If there are any issues during initialization or failures to authenticate to the etherFAX network, they will be logged here.
After the initial startup of the instance, your eris.log output will look something like this:
2021-10-08 13:55:23.949 [INF] First-use database and configuration initialized
2021-10-08 13:55:24.053 [INF] integration service is starting: v1.0.114
2021-10-08 13:55:23.979 [INF] creating directory: /app/shared/inbox
2021-10-08 13:55:24.072 [INF] processor RightFax FCL loaded
2021-10-08 13:55:24.073 [INF] processor etherFAX XML loaded
2021-10-08 13:55:24.074 [INF] processor etherFAX JSON loaded
2021-10-08 13:55:24.075 [INF] processor GFI FaxMaker loaded
2021-10-08 13:55:24.076 [INF] processor NextGen loaded
2021-10-08 13:55:24.077 [INF] processor Fujitsu NxManager loaded
2021-10-08 13:55:24.078 [INF] processor Email/Message (SMTP) loaded
2021-10-08 13:55:24.080 [INF] processor Epic Print Service loaded
2021-10-08 13:55:24.082 [INF] creating directory: /app/shared/queue
2021-10-08 13:55:24.088 [INF] creating directory: /app/shared/status
2021-10-08 13:55:24.095 [INF] monitoring directory: /app/shared/queue
2021-10-08 13:55:24.126 [INF] scheduler service is starting
2021-10-08 13:55:24.127 [INF] clustered mode: False
2021-10-08 13:55:25.829 [INF] service account: Pearson Medical, available channels: 4
Updated 5 months ago
